Showing posts with label Tru Oil. Show all posts

Friday, 9 September 2011

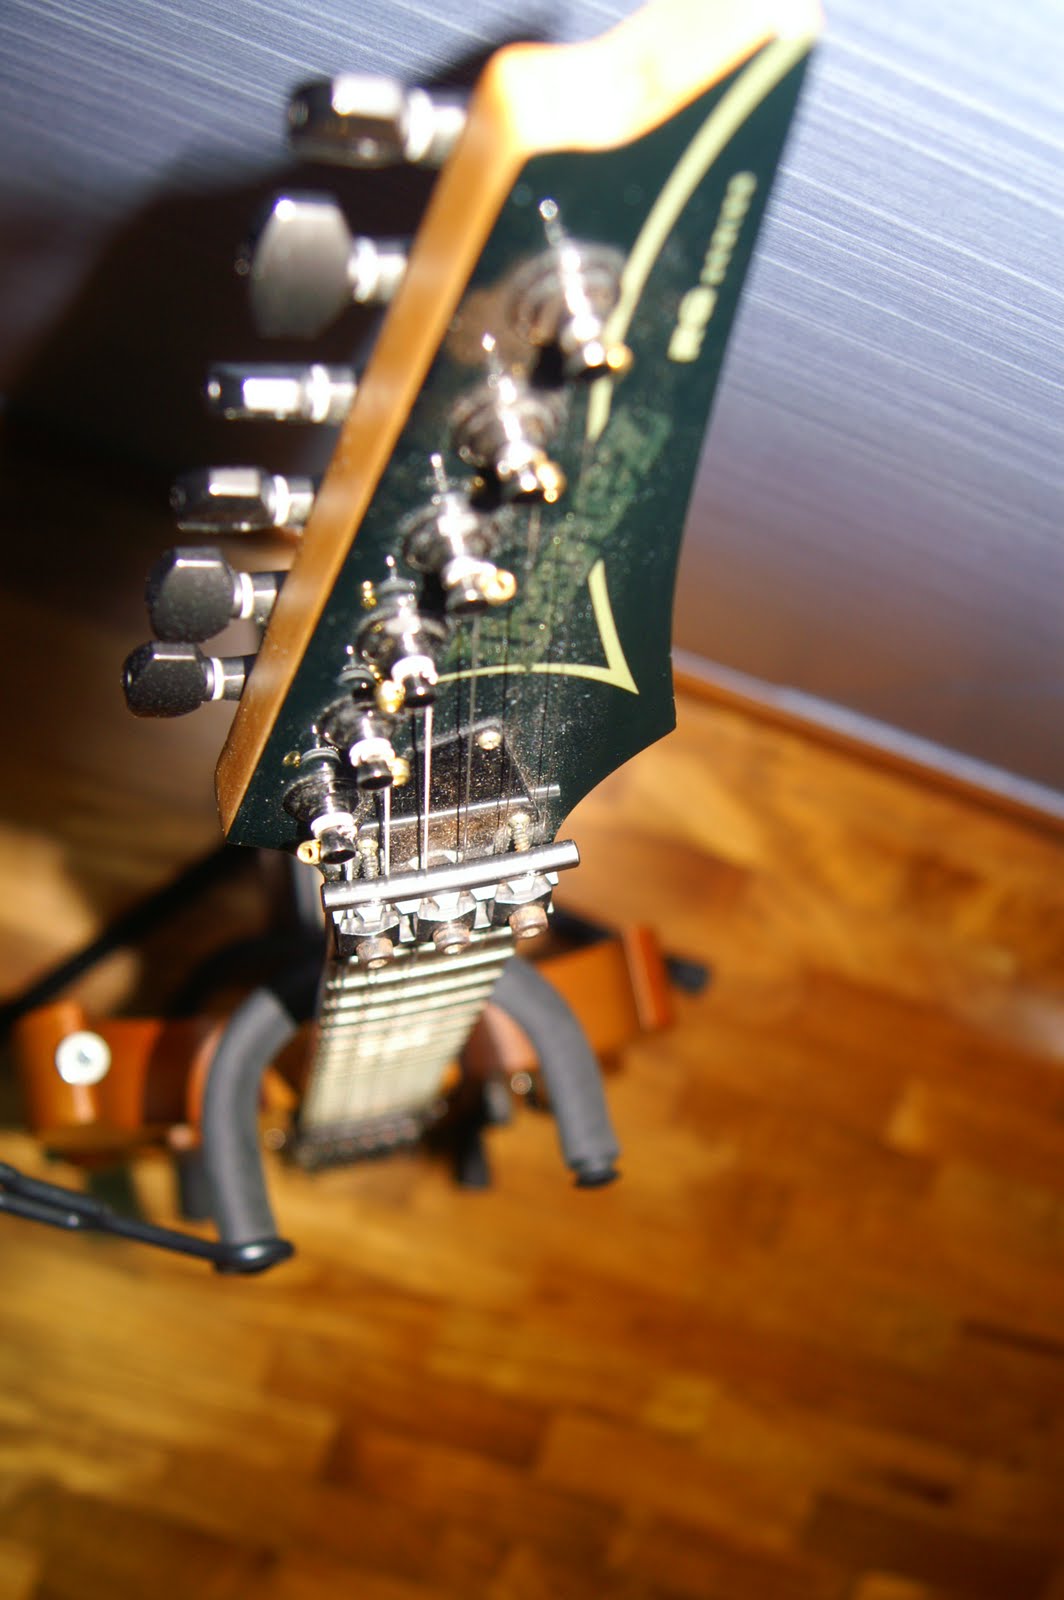
Ibanez RG520QS "傷(Kizu)"


"傷(Kizu)" is probably the only one of my Ibanez guitars that doesn't follow my Dimarzio Evolutions configuration. The story started out with my friends giving me a Seymour Duncan Customs pickup for my birthday present in 2010. That is such an evil gift. Anyway, the rationale being, I wanted to build a guitar that might sound like Hizaki's(ヒザキ) guitar, which is an ESP Horizon III fitted with Seymour Duncan Jazz and Customs. But I didn't want an ESP guitar as I felt that the shape of the neck wasn't really to my liking.

At around the same time, there was an ebay auction of an RG520QS, my favorite non prestige RG model of all time. It sports a mahogany body with the standard Made in Japan Ibanez specs. So, after thinking it through, I bought it and had it shipped all the way from the United States to Singapore. When it arrived, I took a look at the guitar's condition and I nearly fainted. There were paint chips around the headstock and the neck had dings all over. The body of the guitar was sand out of shape and the sides of the quilted sapele veneer was being sand away. I knew I had to put my DIY skills into work again.
First thing I did was to dismantle everything and start with the most important part of the guitar, which is the neck. The dings were actually quite extensive and so, I decided to just refinish the neck, to my all favorite hand rubbed Tru-Oil finish. I removed the dings via the steam with hot iron and sand down the raised grain method. After that, I proceed in removing all the clear coat for re-coating of the neck. The neck was being refinished with 4 coats of hand rubbed tru-oil (for guides of doing this please click here)and being buffed down with rubbing compound for that baby butt smooth satin feel.

The next thing to tackle was the body. I initially re-sculpted part of the body with AB Epoxu and repainted the body with a black burst to cover up the veneer which the previous owner sanded away. However, that didn't turn out too well as rattle can sprays can only get me that far. Not to mention, the humidity of Singapore prevents the paint from drying rock hard. At about the same time, someone was selling a RG520QS body in Jemsite, condition almost intact save a few minor paint chips. After thinking about it, I decided that buying that body is way worth it than redoing up the current one, which I kind of hated. So, I bought the body, had it shipped all the way from United States to Singapore and began assembling the guitar.

At about the same time, I bought the neck pickup, Seymour Duncan Jazz from my local Seymour Duncan distributor, Davis GMC. The guitar was then quick assembled with all the hardware installed. I've also added a push pull coil tap pot for more tonal versatility. Mahogany and split humbucker actually gives of a pretty nice twang. The pickups being Alnico 5 based, is less hot compared to Dimarzio Evolutions ans is a tad bit too much on the highs. I've always been a lover of Ceramic based Pickups but this guitar gives me the option of a different tone on different days.

The neck, which is a Super Wizard neck measures 17mm on the first fret and 19mm on the 12th fret with a flat radius of 430mm and sports a Bulbinga stripe which isn't there for cosmetic reasons. It acts as a separate piece of hardwood to counteract the neck tension, therefore making it more resistance to neck warping. The thin profile of this guitar coupled with the flat radius of the fretboard makes shredding really easy. The action is set to a super sick action of 1mm on the 12 fret allowing players the lightest touch possible next to a scalloped neck. Due to the flat radius, players are also able to do high note bending effortlessly without choking the notes halfway.

The guitar got it's name "傷(Kizu)" mainly because the amount of scars it went through before I refinished it to a condition I am satisfied with. "傷(Kizu)" simply means scar in Japanese. In addition to the Seymour Duncan Customs and Jazz pickups, the guitar is also equipped with the Orange Drop and Treble Bleed mod.

Ibanez RG520QS "傷(Kizu)" Specs
neck type: 3pc Made in Japan Super Wizard neck with Bulbinga Stipe
fingerboard: Rosewood with dot inlay
body: Transparent Rootbeer Mahogany body with Quilt Salepe Veneer
fret: Jumbo frets
bridge: Ibanez Original Edge Bridge
neck pu: Seymour Duncan Jazz
bridge pu: Seymour Duncan Customs

Neck Specs
Scale: 648mm/25.5"
a : Width at Nut 43mm
b : Width at Last Fret 54mm
c: Thickness at 1st 17mm
d : Thickness at 12th 19mm
Radius: 430mmR


Seymour Duncan Jazz Neo classical by Adrian Goh

Tuesday, 30 August 2011

Ibanez Custom Jem 570 "紫心姫(Shishinhime)"


"紫心姫(Shishinhime)" started out as an Ibanez RG570SA which I've gotten for myself during my trip to Oklahoma USA. I bought this from Ebay and had it shipped over to my hostel in Oklahoma. I wanted an all original RG with super Wizard neck and Original Edge tremolo at that point of time.

I took the liberty of ordering a set of Dimarzio Evolutions while I was there, and had them fitted in once I was back in Singapore. There are no better place to buy Dimarzios. The guitar electronic parts were in bad shape and had to be given a total overhaul. All electronic parts are being changed into Gotoh while Orange drop and treble bleed mod is being added, as per all my other guitars. The guitar later went on being the same way for the next 2 years, without major change or whatsoever.

Recently, there is this seller on Ebay who was clearing his store of all the OEM Jem bodies that he has ever made. One of them is this one featured in the photo. It's made of Alder, Flame Maple and Purple heart. Now, how rare is that? Without second thoughts, I bought it and gave it 4 coats of Tru-Oil finish, bring out the luster of the wood. Unfortunately, the Purple heart, which was purple when it arrived has oxidized and faded to a dark brown shape with a hint of purple. Nonetheless, the body still looks awesome.


The good thing about the OEM Jem body is that it doesn't require me to dowel and redrill the neck. It actually fits like a glove. However, the things that I had to do was to sand down the router marks and fill up the wood chips with the wood dust i acquire from drilling the tremolo claw and stud holes. Especially those caused by routing.

This unique combination of wood gave the guitar a tone that is high on the treble side yet, thanks to the alder wings, it gives off tight and deep lows. This balance out the reflective harshness of the 2 hardwood, maple and purpleheart. Evolutions also sings beautifully with this body as it retains the warmth of the neck and the hotness of the bridge while at the same time being balanced out by the tone wood of the body, making it sound less muffed up compared to basswood.

The neck measures 17mm on the first fret and 19mm on the 12th fret with a flat radius of 430mm and sports a Bulbinga stripe which acts as a separate hardwood to counteracts the neck tension, therefore making it more resistance to neck warping. The thin profile of this guitar coupled with the flat radius of the fretboard makes this guitar a shredder's dream. The action is set to 1mm on the 12 fret giving players the lightest touch possible next to a scalloped neck. Due to the flat radius, players are also able to do high note bending effortlessly without choking the notes halfway.

This guitar got it's name from the purple heart body it sports. "紫心姫(Shishinhime)"means "Purple Heart Princess" in Japanese. As purple heart is a rare timber being used for guitar building, it seem that this would be the only fitting name for the guitar.


Ibanez Custom Jem 570 "紫心姫(Shishinhime)" Specs
neck type: 3pc Made in Japan Super Wizard neck with Bulbinga Stipe
fingerboard: Rosewood with dot inlay
body: Alder, Maple and Purple heart with Hand Rubbed Oil Finish
fret: Jumbo frets
bridge: Ibanez Original Edge Bridge
neck pu: Dimazio Evolution Neck
bridge pu: Dimazio Evolution Bridge

Neck Specs
Scale: 648mm/25.5"
a : Width at Nut 43mm
b : Width at Last Fret 54mm
c: Thickness at 1st 17mm
d : Thickness at 12th 19mm
Radius: 430mmR

Thursday, 25 August 2011

Refinishing your guitar neck with sealing oil

Guitar necks are a major part of the feel of a guitar. The neck is the first part of the guitar that is a direct contact to our fretting hand and it can immediately make us hate or like the guitar. It is by far one of the most important parts of the guitar that allow us to bond with the guitar. The back finishing of the guitar neck plays an important role of that feel too. Some of us like the feel of sticky lacquer while some of us like satin finish.


Sometimes, after playing for a long time, we find that our beloved guitar necks has stripped lacquer or worst, dings. Some of us like it, some of us don't. What if, you belong to the ones who don't, such as I?

There is a kind of finish that I will like to share with all my readers out there. It's known as Hand Rubbed Oil finish. Not only is this finish really easy to do, it also leaves the neck baby butt smooth. Sound too good to be true? Check this out.


First 2 above has been refinished with Hand rubbed Tru-Oil while the third picture has been finished with Hand rubbed Tung Oil. Tru-oil leaves the neck with a slight sheen while tung oil tends to have a satin surface. Both of them feel somewhat the same but Tung oil tends to turn to a golden hue over time.

Items you will need:

1. 300 grit, 600 grit, 1000 grit, 1500 grit sand paper.
2. Cloth (Preferably from old T-shirts)
3. Surgery gloves (You can actually do without these, just that you will have a hell of a time washing your hands later)
4. Time

Instructions:

1. Start off with sanding away the lacquer of the neck with 300 grit sand paper. Make sure you do not over sand at this point and change the shape of the neck.


2. After that is done, pour a healthy amount of the sealing oil (Tung or Tru) on the cloth.


3. Rub the oil into the wood by doing an up and down motion with your hand. Rub it until the wood feels dry.

4. Repeat step 2 and 3 a couple of times. (I usually do this 3 times)

5. Leave it to dry for at least 6 hours. (Depending on the kind of oil you use. leave it a day just to be safe)

6. Pour some oil on 300 grit sand paper and sand the oil on the back of the neck. This removes raised grains while at the same time drives more oil into the pores of the wood. Sand till the neck feels dry.

7. Repeat Step 3 to 5 again.

8. Pour some oil on 600 grit sand paper and sand the oil on the back of the neck. This is to smooth-en out the texture of the wood. Again, sand till the neck feels dry.

9. Repeat Step 3 to 5 again.

10. Pour some oil on 1000 grit sand paper and sand the oil on the back of the neck. Again, sand till the neck feels dry.

11. Repeat Step 3 to 5 again.

12. Pour some oil on 1500 grit sand paper and sand the oil on the back of the neck. This should be the final polishing of the neck. The neck should give u a glossy sheen by the time you are done with this step. Again, sand till the neck feels dry.

13. Repeat Step 3 to 5 again.

14. Lasty, repeat Step 3 to 4.

15. This time, leave it to dry for 2 days.


16. Buff it with buffing compound and finish it with Lemon pledge. That will leave the neck Baby butt smooth.

There, that ain't that hard is it? Do take some time to take a look at the video posted below. It shows you how to achieve a professional looking hand rubbed oil finish. Even if it's done on the table, the same principles can be applied on the neck. Lastly, enjoy that professional looking baby butt smooth neck and rock on!